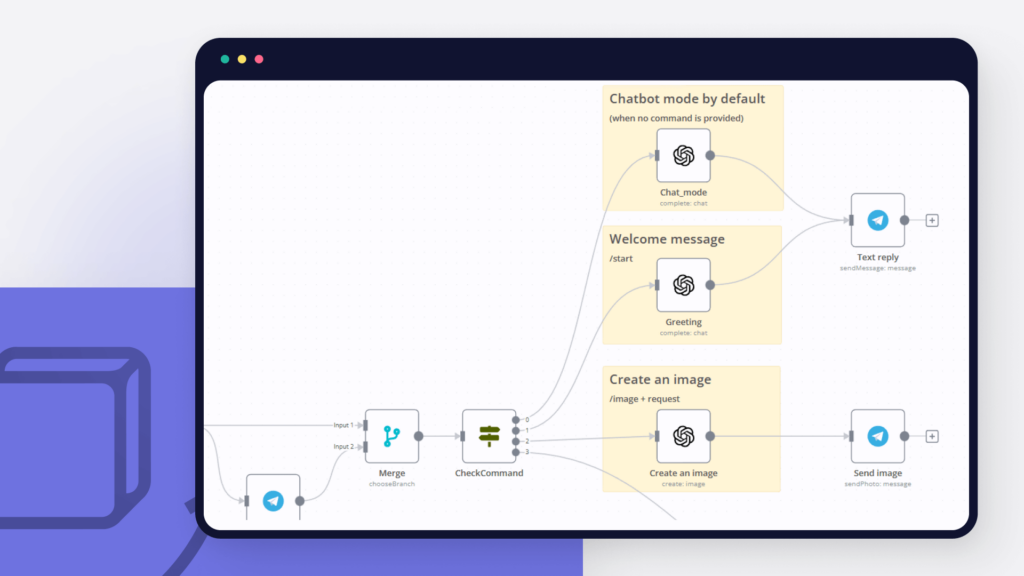
Creating a custom chatbot using the Telegram API can be a powerful way to engage with your audience and provide automated responses to their inquiries. By leveraging the Telegram API, developers can access a wide range of functionalities to build a chatbot tailored to specific needs, especially in the realm of APIs & Web Services. In this guide, we will explore how you can use the Telegram API to create a custom chatbot that can interact with users, provide information, and even perform actions related to APIs & Web Services. Let’s dive in and discover how to harness the potential of the Telegram API for your chatbot project.
The Telegram API presents a robust framework for developing interactive chatbots that can facilitate various types of communication and service delivery. This article delves deep into how to leverage the Telegram Bot API to create a custom chatbot designed specifically for APIs & Web Services. From initial setup to practical implementation, we will ensure you have a comprehensive understanding of chatbot creation in Telegram.
Understanding the Telegram Bot API
The Telegram Bot API is a powerful tool that allows developers to connect to the Telegram universe and create automated interactions. With over 500 million active users globally, Telegram offers a platform teeming with opportunities for developers to build customized chat experiences.
Getting Started with Telegram Bot API
Step 1: Create Your Telegram Bot
To initiate the process, you first need to create a bot on Telegram. Here’s how:
- Open the Telegram app and search for the BotFather.
- Start a chat with BotFather and execute the command /newbot.
- Follow the prompts to name your bot and obtain your bot token.
Your bot token is essential as it authenticates your requests to the Telegram API. Keep it safe and secure.
Step 2: Set Up Your Development Environment
To interact with the Telegram API, you can use various programming languages. In this article, we will focus on using Python because of its simplicity and vast array of libraries.
Ensure you have the following:
- Python installed on your machine.
- A code editor (like VSCode, PyCharm, etc.).
- The requests library for making HTTP requests. You can install it using pip install requests.
Connecting to the Telegram API
Now that your bot is ready, let’s establish a connection with the Telegram API. You will make a simple GET request using your bot token to determine whether everything is working properly.
Example Code – Check Bot Status
import requests

TOKEN = 'YOUR_BOT_TOKEN'
url = f'https://api.telegram.org/bot{TOKEN}/getMe'

response = requests.get(url)
print(response.json())
Replace YOUR_BOT_TOKEN with the token you received from BotFather. Running this code will return your bot’s details, confirming a successful connection.
Implementing Basic Functionalities
Step 3: Setting Up Webhooks
Webhooks allow Telegram to send messages directly to your server when an event occurs. This is crucial for real-time interaction with users.
Setting Up the Webhook
To set up a webhook, you will need a publicly accessible URL where Telegram can send updates. You can use services like Ngrok to expose your local server or deploy your bot on cloud platforms like Heroku.
Example Code – Set Webhook
WEBHOOK_URL = 'YOUR_PUBLIC_URL'
set_webhook_url = f'https://api.telegram.org/bot{TOKEN}/setWebhook?url={WEBHOOK_URL}'

response = requests.get(set_webhook_url)
print(response.json())
Make sure you have your public URL ready and replace YOUR_PUBLIC_URL with that URL.
Step 4: Handling Incoming Messages
After setting up the webhook, you can now handle incoming messages from users. Here’s a simple Flask application to illustrate how to process messages:
from flask import Flask, request

app = Flask(__name__)

@app.route('/' + TOKEN, methods=['POST'])
def respond():
    update = request.get_json()
    chat_id = update['message']['chat']['id']
    text = update['message']['text']

    send_message(chat_id, "You said: " + text)
    return '', 200

def send_message(chat_id, text):
    url = f'https://api.telegram.org/bot{TOKEN}/sendMessage'
    payload = {
        'chat_id': chat_id,
        'text': text
    }
    requests.post(url, data=payload)

if __name__ == '__main__':
    app.run(port=8443)
This code will echo back any message the user sends.
Advanced Bot Functionalities
Step 5: Using Inline Keyboards
Inline keyboards enhance user interaction by allowing options to be displayed right within the chat. Here’s how you can implement this feature:
Example Code – Inline Keyboard
def send_inline_keyboard(chat_id):
    url = f'https://api.telegram.org/bot{TOKEN}/sendMessage'
    keyboard = {
        'inline_keyboard': [[
            {'text': 'Option 1', 'callback_data': '1'},
            {'text': 'Option 2', 'callback_data': '2'}
        ]]
    }
    payload = {
        'chat_id': chat_id,
        'text': 'Choose an option:',
        'reply_markup': keyboard
    }
    requests.post(url, json=payload)
Invoke this function within the respond() function to provide users with interactive choices.
Step 6: Integrating External APIs
One of the significant benefits of creating a custom chatbot is the ability to integrate with external APIs & Web Services. This allows your bot to fetch data from a wide range of services.
Example: Fetching Weather Data
Here’s a quick example of how you could use an API to fetch weather data and provide users with real-time information:
import json

def get_weather(city):
    api_key = 'YOUR_WEATHER_API_KEY'
    url = f'http://api.openweathermap.org/data/2.5/weather?q={city}&appid={api_key}&units=metric'
    response = requests.get(url)
    return json.loads(response.text)

def respond():
    # Inside your previous respond function
    if text.startswith('/weather'):
        city = text.split(' ')[1]
        weather = get_weather(city)
        weather_message = f"Temperature: {weather['main']['temp']} °C"
        send_message(chat_id, weather_message)
    else:
        send_message(chat_id, "You said: " + text)
        send_inline_keyboard(chat_id)
    return '', 200
In this code, users can type /weather CityName to receive the current temperature of their chosen city.
Testing Your Bot
After implementing major functionalities, it’s crucial to thoroughly test your bot. Check every command and interaction to ensure everything works seamlessly. Use Telegram’s bot directly by messaging it and observing how it responds.
Best Practices for Telegram Bots
To enhance user experience and engagement through your Telegram bot, consider the following best practices:
- Provide clear commands and options for users.
- Ensure quick response times to maintain user interest.
- Regularly update your bot with new features and bug fixes.
- Monitor user interactions to gather feedback for improvement.
- Implement robust error handling to manage unexpected issues gracefully.
Conclusion
By now, you should have a solid understanding of how to create a custom chatbot using the Telegram API. From setting up your bot and using webhooks to integrating external APIs, the possibilities are endless. Remember, a well-designed bot can significantly enhance user engagement and teach valuable lessons about APIs & Web Services.
Utilizing the Telegram API to create a custom chatbot offers a powerful way to enhance user engagement and automate interactions. By leveraging this API within the framework of APIs & Web Services, developers can easily integrate advanced functionalities and provide a seamless messaging experience for users. With clear documentation and robust support, building a custom chatbot using the Telegram API is both efficient and effective in delivering tailored communication solutions.
Related posts:
 What Are APIs and How Do They Work?
 How to Secure Your API with JWT
 Building a Microservices Architecture with APIs
What Are API Keys and How to Use Them Securely?
Building a Microservices Architecture with APIs
What Are API Keys and How to Use Them Securely?
 A Beginner’s Guide to API Monetization
 Using Google Maps API for Location-Based Applications
 How to Handle API Authentication in Mobile Apps
The Importance of API Caching and How to Implement It
How to Handle API Authentication in Mobile Apps
The Importance of API Caching and How to Implement It
 Building a Weather App Using OpenWeather API
 How to Use AI-Powered APIs for Your Applications
 API Gateway vs Load Balancer: Understanding the Differences
How to Set Up API Rate Limiting in Nginx
API Gateway vs Load Balancer: Understanding the Differences
How to Set Up API Rate Limiting in Nginx
 How to Optimize API Response Time for Better Performance
Best API Security Practices to Prevent Attacks
How to Optimize API Response Time for Better Performance
Best API Security Practices to Prevent Attacks