Building a Realtime API for IoT devices requires a comprehensive understanding of APIs and Web Services. By utilizing APIs, developers can establish a seamless communication pathway between IoT devices and applications, enabling real-time data transfer and control. In this guide, we will explore the key principles and best practices for designing and implementing a robust Realtime API for IoT devices, emphasizing the importance of scalability, security, and efficiency. Let’s dive into the intricacies of APIs & Web Services to unlock the full potential of your IoT ecosystem.
Understanding Real-time APIs
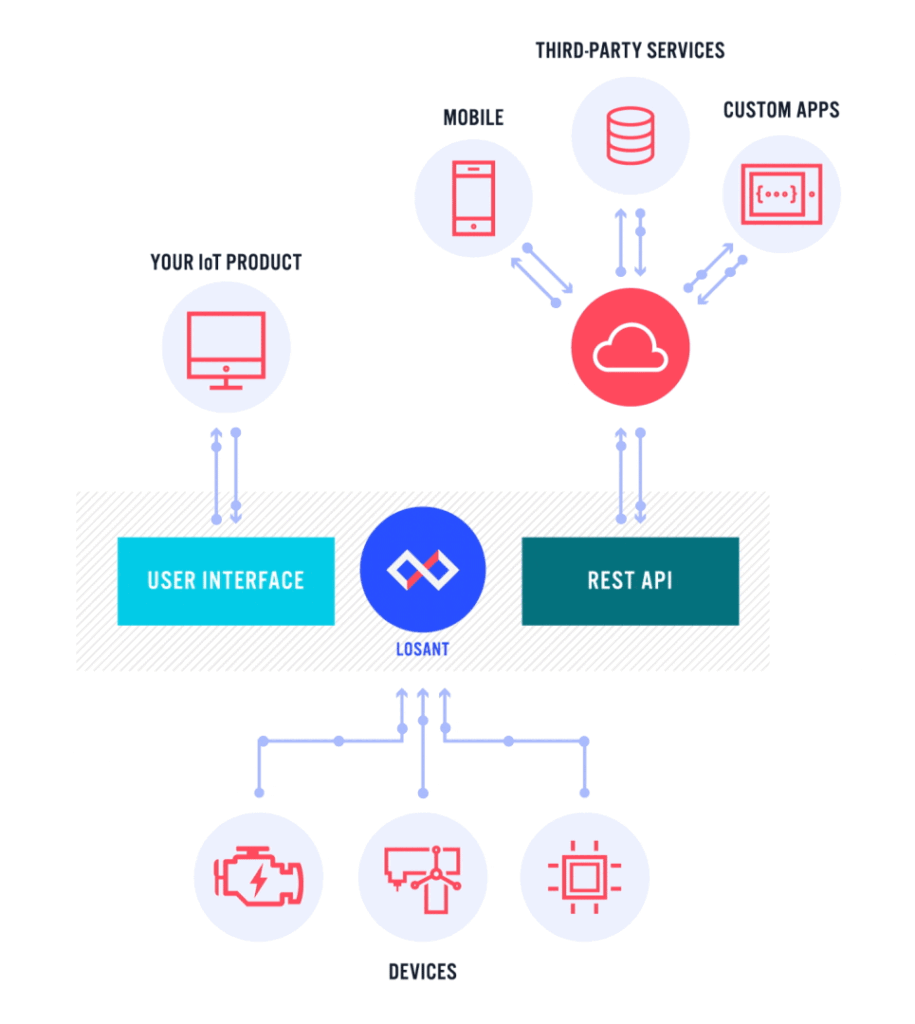
A real-time API allows for the instantaneous exchange of data between devices and servers. In the realm of Internet of Things (IoT), real-time communication is crucial for applications that require immediate feedback, such as smart home devices, industrial automation, and health monitoring systems.
Real-time APIs enable developers to create applications that can respond to events as they happen, rather than waiting for periodic updates or requests. This tutorial will guide you through the process of building a real-time API designed specifically for IoT devices, utilizing technologies and methodologies that ensure efficiency and scalability.
Choosing the Right Protocol
When building a real-time API for IoT devices, the first step is to choose the appropriate communication protocol. The most commonly used protocols include:
- MQTT (Message Queuing Telemetry Transport)
- WebSockets
- HTTP/2
- CoAP (Constrained Application Protocol)
Each of these protocols has its advantages and use cases:
- MQTT: Ideal for low-bandwidth, high-latency environments. It operates on a publish/subscribe model making it suitable for many IoT applications.
- WebSockets: Perfect for scenarios where a continuous connection is needed, allowing for bi-directional communication between clients and servers.
- HTTP/2: Allows for multiplexing multiple requests over a single TCP connection, making it efficient for mobile and web applications.
- CoAP: Designed for use with constrained nodes and networks, making it ideal for machine-to-machine (M2M) communication.
Setting Up Your Development Environment
Before writing any code, ensure you have the following prerequisites installed on your local machine:
- Node.js: A JavaScript runtime that will allow you to run server-side code.
- npm: Node.js package manager to install dependencies.
- A code editor: Tools like Visual Studio Code or Sublime Text are widely preferred.
Once your environment is set up, create a new directory for your API and initialize a new Node.js project:
mkdir ioTRealTimeAPI
cd ioTRealTimeAPI
npm init -y
Installing Required Libraries
For this example, we will use Express for setting up the server and Socket.io for enabling real-time communication:
npm install express socket.ioCreating the Server
Next, create a file called server.js within your project directory. In this file, we will establish a basic Express server and configure Socket.io for handling real-time communication:
const express = require('express');
const http = require('http');
const socketIo = require('socket.io');

const app = express();
const server = http.createServer(app);
const io = socketIo(server);

app.get('/', (req, res) => {
    res.send('Real-time API for IoT Devices');
});

io.on('connection', (socket) => {
    console.log('a user connected');

    socket.on('disconnect', () => {
        console.log('user disconnected');
    });
});

const PORT = process.env.PORT || 3000;
server.listen(PORT, () => {
    console.log(`Server running on port ${PORT}`);
});
This code sets up a basic Express server and listens for new connections through Socket.io.
Enabling Real-time Updates
To send real-time updates from your IoT devices to clients, you need to emit events using Socket.io. Let’s assume you have an IoT sensor sending temperature data. Here is how you would set this up:
setInterval(() => {
    const temperature = getRandomTemperature(); // Simulating reading from an IoT device
    io.emit('temperature update', { temperature });
}, 1000); // Sends data every second
The getRandomTemperature function is a placeholder and should be replaced with actual readings from your IoT sensor.
Creating the Client Side
To test your real-time API, create a simple HTML file named index.html in the same directory:
<!DOCTYPE html>
<html lang="en">
<head>
    <meta charset="UTF-8">
    <meta name="viewport" content="width=device-width, initial-scale=1.0">
    <title>IoT Real-time API</title>
    <script src="https://cdn.socket.io/4.0.1/socket.io.min.js"></script>
</head>
<body>
    <h1>Real-time Temperature Updates</h1>
    <div id="temperature">Temperature: </div>

    <script>
        const socket = io();

        socket.on('temperature update', (data) => {
            document.getElementById('temperature').innerText = 'Temperature: ' + data.temperature + ' °C';
        });
    </script>
</body>
</html>
This HTML file establishes a connection to the Socket.io server and updates the displayed temperature in real time as new data is received.
Testing the Real-time API
To test your API, run the following command in your terminal:
node server.jsOpen your browser and navigate to http://localhost:3000 to see the real-time temperature updates. You should see the temperature change every second, reflecting the data sent from the server.
Scaling Your Real-time API
As your application grows, scaling will become necessary. Here are several strategies to enhance the scalability of your real-time API:
- Use Redis for Pub/Sub: Implement a Redis Pub/Sub mechanism to distribute messages between multiple servers.
- Load Balancing: Use a load balancer to distribute incoming socket connections across multiple server instances.
- Microservices: Consider architecting your application using microservices to isolate different functionalities, thereby enabling easier scaling for each component.
- Cloud Services: Leverage cloud platforms like AWS, Google Cloud, or Azure for powerful, scalable infrastructure that can grow with your application.
Security Considerations
Security in IoT is crucial as many devices can be entry points for attacks. Here are some best practices:
- Use HTTPS: Always use HTTPS to encrypt data in transit.
- Authentication: Implement robust authentication mechanisms such as API tokens or OAuth to ensure that only authorized devices access your API.
- Data Validation: Validate all input data to prevent injection attacks or payload manipulation.
- Regular Updates: Keep your dependencies and libraries updated to mitigate vulnerabilities.
Conclusion
Building a real-time API for IoT devices is a powerful way to enable immediate data exchange and enhance responsiveness in your applications. By selecting the right protocols, establishing a solid server-client architecture, and following best practices in security and scalability, you can develop efficient and robust APIs that support the burgeoning world of IoT.
Building a realtime API for IoT devices involves designing an efficient communication protocol, implementing robust data synchronization mechanisms, and ensuring scalability and reliability. It is crucial to prioritize security measures, data validation, and error handling to create a seamless and responsive experience for users interacting with IoT devices through the API. By following best practices and leveraging modern technologies, developers can create a powerful and responsive API that enables seamless communication between IoT devices and external systems.
Related posts:
 What Are APIs and How Do They Work?
 How to Secure Your API with JWT
 Building a Microservices Architecture with APIs
What Are API Keys and How to Use Them Securely?
Building a Microservices Architecture with APIs
What Are API Keys and How to Use Them Securely?
 A Beginner’s Guide to API Monetization
 Using Google Maps API for Location-Based Applications
 How to Handle API Authentication in Mobile Apps
The Importance of API Caching and How to Implement It
How to Handle API Authentication in Mobile Apps
The Importance of API Caching and How to Implement It
 Building a Weather App Using OpenWeather API
 How to Use AI-Powered APIs for Your Applications
 API Gateway vs Load Balancer: Understanding the Differences
How to Set Up API Rate Limiting in Nginx
API Gateway vs Load Balancer: Understanding the Differences
How to Set Up API Rate Limiting in Nginx
 How to Optimize API Response Time for Better Performance
Best API Security Practices to Prevent Attacks
How to Optimize API Response Time for Better Performance
Best API Security Practices to Prevent Attacks