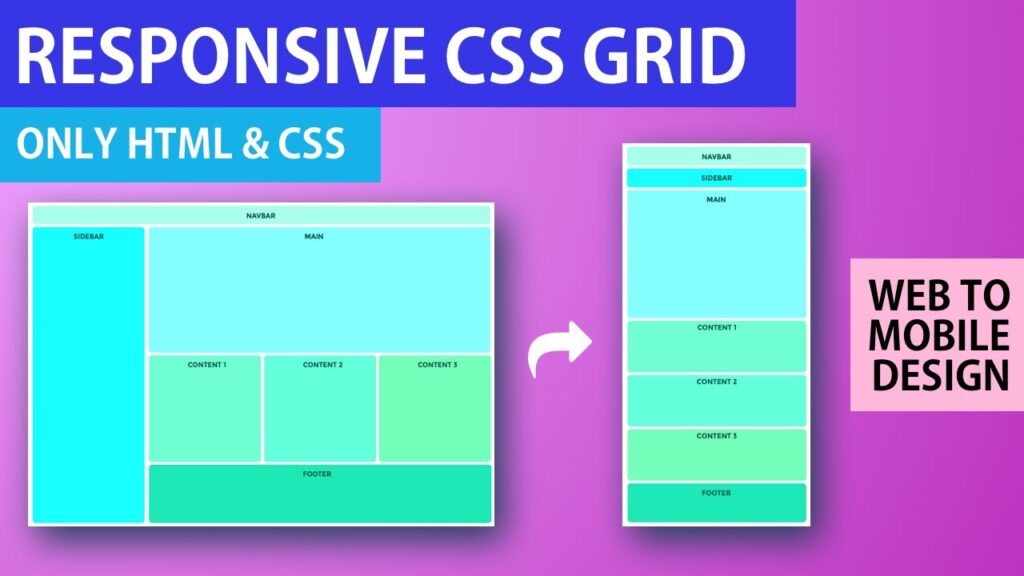
Building a responsive image grid with CSS allows you to create a visually appealing way to display images on your website that adjusts to different screen sizes. By using CSS properties such as grids and media queries, you can ensure that your image grid looks great on both desktop and mobile devices. In this tutorial, we will explore how to effectively build a responsive image grid using CSS, helping you enhance the user experience of your website.
In today’s digital age, having a website that looks great on all devices is crucial. One essential component of a responsive website is a responsive image grid. In this tutorial, we will go through the steps to build a responsive image grid using CSS.
Step 1: HTML Structure
To start building our responsive image grid, we first need to create the HTML structure. We will use a simple unordered list to represent the grid.
<ul class="image-grid">
  <li><img src="image1.jpg" alt="Image 1"></li>
  <li><img src="image2.jpg" alt="Image 2"></li>
  <li><img src="image3.jpg" alt="Image 3"></li>
  ...
</ul>
Make sure to give the unordered list a class name of “image-grid” so that we can target it later with CSS.
Step 2: CSS Styling
Now that we have the HTML structure in place, let’s move on to the CSS styling. Add the following CSS code to your stylesheet:
.image-grid {
  display: grid;
  grid-template-columns: repeat(auto-fit, minmax(250px, 1fr));
  grid-gap: 20px;
}

.image-grid li {
  list-style: none;
  width: 100%;
}

.image-grid img {
  width: 100%;
  height: auto;
}
Let’s break down the CSS code above:
- .image-grid: This class is applied to the unordered list, making it a CSS grid container.
- display: grid: This property sets the element as a CSS grid container.
- grid-template-columns: repeat(auto-fit, minmax(250px, 1fr)): This property defines the columns of our grid. The “auto-fit” value will automatically create new columns to fit the available space, while “minmax(250px, 1fr)” sets the minimum and maximum size of each column.
- grid-gap: 20px: This property adds a gap of 20 pixels between each grid item.
- .image-grid li: This selector targets each list item within the grid and removes the default list style.
- .image-grid img: This selector targets the images within each list item and ensures they fill the width of their container while maintaining their aspect ratio.
Step 3: Testing
With the HTML and CSS in place, it’s time to test our responsive image grid. Open the HTML file in your browser, and you should see the images arranged in a grid with equal spacing between them.
Resize your browser window to different widths, and you will notice that the grid adjusts automatically. The number of columns will change to fit the available space, ensuring the images always look good on any device.
Building a responsive image grid using CSS is a relatively simple and effective way to make your website visually appealing on different devices. By using CSS grid, you can easily create a flexible and adaptive grid layout that adapts to various screen sizes.
Remember to optimize your images for the web by compressing and resizing them appropriately. This will help improve the loading speed of your website and provide a better user experience.
Implementing a responsive image grid is just one aspect of creating a responsive website. Be sure to apply responsive design principles to other elements of your website for a truly seamless and user-friendly experience across devices.
That’s it! You now have the knowledge to build a responsive image grid using CSS. Happy coding!
Creating a responsive image grid with CSS is an effective way to showcase images on a website that adapt to different screen sizes. By utilizing CSS techniques such as flexbox and media queries, developers can ensure that their image grid looks great on all devices. With careful planning and implementation, a responsive image grid can enhance the overall user experience and make your website more visually appealing.


